Showing posts with label Off The Page. Show all posts

Sunday, 20 January 2019

You Are Strong - Romanian Woman Canvas

It has been quite a while since I've uploaded anything to this blog. I'm still creating, but most of my stuff is only being displayed on my Instagram account. I feel that not too many people are actually reading full blogs anymore. If I'm wrong, leave me a comment at the bottom and I'll start sharing more here too. 


So this canvas was created for a friend at work, who had asked for a similar piece to one I've done before with a Romanian woman to reflect her heritage. I love doing these canvas pieces and am running out of room to keep them in my craft room so was happy to make one to give away. I thought I'd whip up a quick tutorial as well while I was at it.

My top tips for mixed media work:
1. Don't fall in love with the first couple of layers - realistically you're just going to cover most of these up.
2. Ensure you have contrast. Whether that's highlights of black/white or a pop of a different colour, you need something that stands out.
3. Don't be afraid to make mistakes, you can always cover them up if you really hate the effect 


First step for me when creating any mixed media piece is to lay down the background texture. Here I've used a book page, builders tape and crackle paste through a stencil. Because I'm working on a canvas, this was already primed with gesso. If you were creating on paper it's normally a good idea to give it a coat of clear or white gesso first to minimise warping.


I covered the whole thing with three shades of red/orange acrylic paint, blending them together as I spread the paint by spraying them with water to thin them out a little. This has actually blended them a bit more than I would have liked but I wasn't going to stress about it.
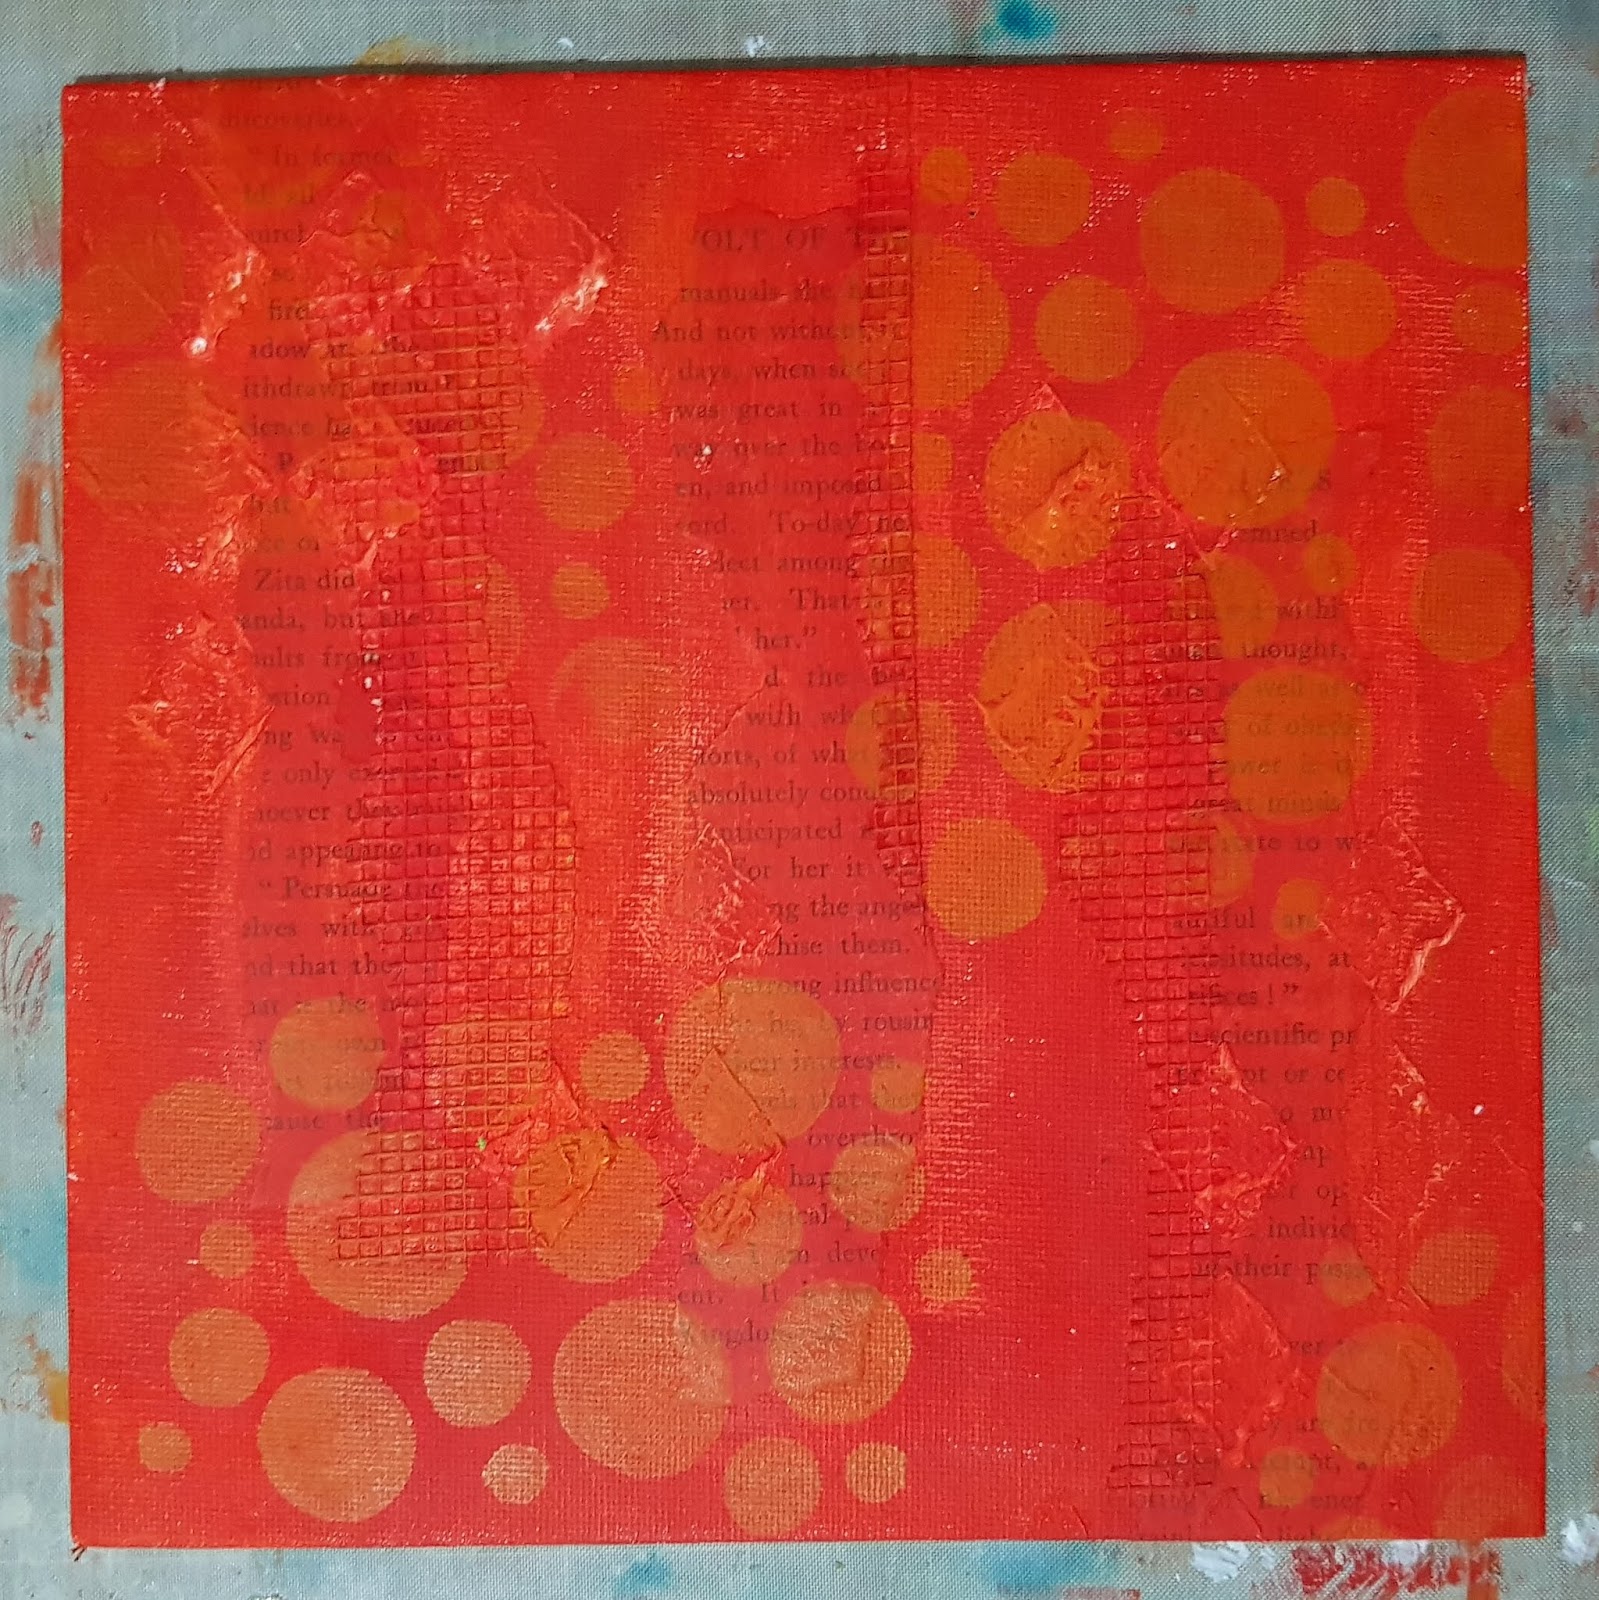

I applied some of the lightest orange acrylic paint to create circles on the background. I used a gelli plate to do this, with some ghost printing to create the lighter impressions. You could just as easily apply it directly through a stencil though.


This photo combines two steps. I drizzled some blue misting ink along the top edge of the canvas, letting it pool and drink wherever it felt like. I decided the blue didn't suit what I was going for, so went over it again with a brown ink which has a blue shimmer to it, just to tone it down and create a few more drips. 

Once that was dry, I applied the grey paint through a stencil. I wanted a really crisp design though and unfortunately my paint bled under the stencil. I just grabbed a baby wipe and whipped off all the grey paint. :)


Using the baby wipe to remove the paint gave me two lovely effects. Firstly, the grey paint stayed on the builders tape and highlighted that texture. I decided I liked the effect, so spread it around to the other areas with tape too. Whilst I was wiping the paint, it also took off the red paint from the top of the crackle paste, which made the stencil designs stand out more too so I repeated that over the whole canvas. 


I added a lot more interest to the background in this stage! I repeated the mist/ink drizzle at the bottom with a dark brown ink which I also flicked over the whole canvas, as well as some white ink. I've used white and brown pencils to highlight some of the orange circles. Lastly, I've applied some silver wax highlights to the crackle paste.


Once you're happy with the background, it's time to start building up the mid-ground. I used a paper doily, some cheesecloth and a ribbon off-cut. They were all glued down with matt gel medium.


The last step is to add your focal pieces. For me this was the Romanian woman after cutting her out and inking the edges in brown, along with the motivational stickers. I used a aquarelle pencil around the stickers to make them stand out a bit more too. Lastly, I added a couple more ribbons to the mid-ground as it was a little bit too plain otherwise. 


Hope you enjoyed the tutorial. If it inspires you to create something I'd love for you to share your project with me!

Friday, 23 March 2018

Be Fearless Canvas

The third Workshop Wonders class was one I was really looking forward to doing, as it was a canvas taught by Leanne Jago. Leanne does amazing mixed media pieces and it was great to be exposed to her techniques to build up a range of different layers and textures. Unfortunately, her expected materials hadn't arrived in time for the class so we all had to improvise a bit with substitute products.


I'm not sure Leanne would entirely approved of the fact I've added some bling to the butterflies but I couldn't help myself. I just love adding sparkle to projects and I had these left over from the first class. :) This detail shot also shows off the aquarelle pencil for all that watercolour-black effect and some great bits of crackle texture. 


I'm normally not a bit fan of using vintage images in my work but when I saw this girl in my kit with her smug smile and hand on her gun I just had to use her. I thought her attitude went perfectly with the Flutterby Designs sticker sentiments. I also killed my brand new Posca pen trying to outline the girl to make her stand out, only to decide the effect was too subtle and used white gesso instead. 


This shows the multiple layers: gesso base/crackle medium/acrylic paint/white embossing powder applied to glue through a stencil/brown ink drizzles/acrylic paint smudged on with fingers/stamping/mist splatters.


This was Leanne's sample piece. You can see that I've stuck very close to her design but gotten quite a different finished product just with some different paint colours. 


Wednesday, 20 December 2017

Train Photo Display

My dad came to stay with me for three weeks to help out with recovering from knee surgery. Today was his last day and I wanted to give him a little gift to say thanks. I have had this train billboard from Imaginarium Designs since 2015 when I was on the Couture Creations design team and I knew it would come in handy for my train-obsessed son sooner or later. The photos are from when the two of them were watching 'Chuggington' (a train animation) together on Dad's iPad. I figured since Dad also took Harry on his first proper train ride while he was visiting it was the perfect theme for the gift.


Since I couldn't decide which photo I liked more, I just decorated both sides of the billboard in a similar manner and left it unglued, so Dad can remove it and turn it around if he wants to. 


It ended up being a pretty quick and simple present. I think it had taken me so long to use the display because I kept overthinking everything I wanted to do with it. 

Monday, 25 September 2017

Loved Canvas - D-lish Scraps DT

Hello friends! This is a sad blog post for me because it is my last on the D-lish Scraps design team. I have thoroughly enjoyed my time, getting to see all the fantastic creations by the other team members and taking part in the challenges and chatter over at The Scrap Suite. However, all good things must eventually come to an end. I thought it fitting to finish my term as I started, with a mixed media canvas.


There are lots of details to this canvas, so there are a few different detail shots. Starting in the top left corner, I used a lovely apricot Sakura Bloom at the focal point. I then worked my way down in size using a range of paper flowers including a cabbage rose, tea roses, and resin flowers. You can also see a clear glass cabochon and some glitter enamel dots scattered around the edges. At the very bottom level of my layers, I have some orange/white twine and an off-white paper doily.


I couldn't resist these adorable wooden boy buttons when I saw them in the shop and had been saving them for just the right occasion. 


This last close up shows the beautiful orange Little Birdie bloom, as well as the Kinder Kreations chipboard title.


Just in case anyone was interested, I also whipped up a really quick step-by-step as to how this canvas was made. 


1/ To create the background I adhered some torn up book pages to the background, then painted over them with gesso. I randomly stamped over the top of this with Stazon ink. Lastly, I applied texture paste through a Scrapmatts stencil.
2/ This is the fun step - just pick a couple of different coloured mists and spray away. I have used green and orange dylusions plus antique gold Kaisermist, and yellow and coral sprays. I let this all dry completely, then did it all again to build up a nice vibrant colour over the gesso base.  Don't fall in love with this later, as most of it will be covered up.
3/ Add some texture over the paint. I have added some strips of builders tape, orange/white twine and cotton thread. Make sure these are going to poke out far enough to still be seen once you add the embellishments and photo mat.


4/ Make up your photo mat. I've used a couple of different pocket-page cards cut down to size and some paper doilies. This is stuck to the page over the top of two layers of cardboard so I can fit embellishments under it.
5/ Add the paper flower embellishments. Start with the larger flowers and work your way down in size. I have misted some of my flowers in the top cluster so they match the background.
6/ Make a bead mix (I used a pre-made combination from My2Angels mixed with orange microbeads from a past Just Add Paper Kit) and mix this with strong liquid glue, before applying randomly with a spatula. Mix some gesso with water and flick this over the canvas.

7/ Last step is to add in the little embellishment details like some resin flowers, glass cabochons, wooden button and glitter enamel dots. Add your photo and title then it's done!


Monday, 10 April 2017

Dream Big Canvas - D-lish Scraps DT

I'm so excited to be part of the new D-lish Scraps design team for the next six months. I simply couldn't go past all the beautiful flowers in stock without grabbing a variety to include in a canvas display piece as my first project.


I whipped up a quick little tutorial as to how I created the canvas, just in case anyone else wanted to try to create some thing similar. If you do, send me a link in the comments, I'd love to check it out!


1/ Spray mists onto your craft mat/Teflon sheet. I used three different colours (purple, green and light blue) and made sure they were close enough to run together. Press the canvas upside-down onto the mat, making sure to press firmly in the middle. Once dry, apply Versamark watermark ink through a stencil randomly and emboss with clear UTEE.
2/ I found the background too bold for my taste, so I painted the whole canvas with gesso, then used a baby wipe to clean off the embossed areas. I also used the wipe to lift off some of the gesso until I was happy with the amount of colour showing through.
3/ Apply texture paste through a stencil randomly over the canvas. The texture paste will only stay white if applied thickly, in thinner applications the background colour will show through once the paste dries. You can see the dry effect in the 4th photo. If you want it to stay white, use structure paste/gesso/acrylic paint instead.


4/ Colour the edges of the canvas with a thick layer of Gelatos. Apply water with a paintbrush to create drips. Add extra Gelato if you want extra colour intensity. I did the purple at the top and let it dry before doing the same thing with blue from the bottom.
From this point on is really where we just start covering up that beautiful background.
5/ Apply washi tape. I used a blue/white diagonal stripe from the retired JAP kit, Beachside Bliss. You need to think about where your flowers will be placed and ensure the washing pokes out the edges of the cluster.
6/ Adhere muslin over the washi tape. I used three different pieces that I had teased out the get rough edges and applied with spray adhesive. Paint your chipboard white (I use one coat of acrylic paint then spray with chalkboard Glimmermist). Cut the flourish to suit your design then glue down.

7/ Place your flowers, starting with the larger ones first then working towards the smaller ones at the edges and in the gaps. The heather sprays and spiral stamens are great for breaking up the circular design pattern.
8/ Add in the little extra embellishments like clear glass cabochons and sequins. I have also added some more diamond shapes using the smaller stencil and gesso in the top and bottom right corners.
9/ Apply the finishing chipboard pieces, in this case a Scrapmatts frame I've cut in half to use in two places and a title from another retired JAP kit, Aztec Dreams.


Close up shot to show some of the fantastic variety of flowers available from D-lish Scraps: Green Tara Tutu Blooms, Fantasy Blooms, Bitty Blooms, Magnolias, Heather Springs, Spiral Stamens, Petite Resin Roses and Wild Roses.  

Monday, 5 December 2016

Christmas Advent Calendar - Scrapmatts DT

Back in 2010 I created my first advent calendar, using a MDF kit from Kaisercraft. I figured I would make one calendar which we could re-fill with quality lollies each year, instead of spending $5-$10 on one each year filled with dodgy chocolate. Eventually it would pay for itself, right? The problem was, I hadn't quite factored in the initial costs for materials, the time it would take to make it or the fact that I would enjoy making it so much that I wanted to make another one three years later! :)

My Scrapmatts Design Team project for this month is actually my THIRD Kaisercraft advent calendar. Don't worry, this one is for my sister. She wanted a rustic theme and picked out the papers for me. I went with a different shaped kit to my last two and was surprised to find this one didn't come with chipboard numbers. I never use numbers in my titles though so this was the perfect opportunity to use up a few from spare alphabets I had lying around.


I love the range of Christmas chipboard available from Scrapmatts! They have reindeers, snowflakes, nativity scenes, baubles, trees, bells, words in a variety of different sizes and colours. In all honesty, I think half my collection of Scrapmatts chipboard is Christmas themed. :) I have painted most of the pieces with acrylic paint which really helps bring out the details in the chipboard. The background also has golden stars painted on it using a stencil.


 The decorations around the outside are actually just cheap embellishments I picked up from the local discount shop. The Christmas-themed printed burlap ribbon was perfect to wrap around, and the sprigs make a great finishing touch.

Stencil used: ST1006 Stencil Stars.


If you've interested in seeing my earlier advent calendars, I started with this traditional themed one in 2010.


I then moved on to this White Christmas themed one in 2013.


Last year in 2015 I decided to re-visit my traditional one and update it by removing the centre panel and creating a new scene.


Wednesday, 5 October 2016

Life is a Journey Canvas - Scrapmatts DT

Are you like me and you keep all those left over bits of chipboard? You know the ones, when you only have one piece left from the sheet, or you take it out but change your mind so don't use it on the layout, or even the extra bits you get in the Scrapmatts kits if you take an expo class? I have had a great time using up some of my leftovers stash to form the base of a small canvas display piece. The great thing about it is that it doesn't really matter what you have in this stash, because it will mainly get covered up anyway.


I quickly captured some progress shots to show how I built up the background. Stage one: two layers of chipboard and a metal charm, along with some builders tape and some texture paste through the stencil. Everything has been covered with a layer of gesso. Stage two: I have added the flowers and some lace strips. I decided I wanted the brick texture to stand out more so re-applied more texture paste, including over the lace. Everything got another coat gesso. Stage three: I have built up the coloured coverage using multiple applications of three colours of mist. Because of the gesso, they initially dry lighter than expected, so quite a few applications were required, but this helps blend the colours together. Stage four involves flicking black ink across the canvas, dry brushing white gesso across the whole piece to highlight the contours and then dabbing on spots of gold coloured paste to the flowers for highlights.

 
My tips for creating mixed media background:
- put your flat layers down first! I forgot to put my lace and builders tape down first, so ended up having to cut it to fit around the chipboard shapes.
- always coat everything with gesso to ensure they absorb the paint at the same rate, otherwise you ended up with inconsistency in the colours between surfaces.
- Let ink colours dry before changing colours to avoid them getting muddy. Don't be afraid the overlap dry colours to blend them though.
- Spray inks from different angles and positions to get into all the nooks and crannies of the canvas.
- If in doubt, add more!

You can see in these detail shots the background detail created by putting some texture paste through the brick stencil as well as the layers of chipboard in the background prior to building up the frames. The gold frame is embossed, and the top frame has a watered down mist painted over white acrylic.


Scrapmatts chipboard: CB6103 Scrap Words 21, CB6113 Scrap Words 32, CB6091 Ornate Frames 19, CB6110 Ornate Frame 25, plus bits and pieces left over. Stencil: ST5013 (this is my go-to stencil for background texture).

Monday, 5 September 2016

Floral Frame - Scrapmatts DT

September already! Where has the year gone? Hopefully you've spent at least some of it getting to play with some Scrapmatts stencils and chipboard like me. :) My first DT project for this month is a wooden photo frame I've decorated. I gave it a quick coat of gesso to start with, then sponged on a few different shades of Distress Inks through a beautiful Scrapmatts stencil, finishing with a quick varnish spray to stop the inks smudging. The leaf sprays were the perfect accent to my flower clusters and then I just popped a Scrapword in the negative space of the photo.


Scrapmatts chipboard: CB1146 Leaf Spray 01 and CB1241 Scrap Words 27. Stencil: ST1011.


Tuesday, 5 April 2016

Scrapmatts DT Canvas

I'm starting my 4th year on the Scrapmatts Design Team so I thought it was about time I made a new display canvas for them to show at craft expos. I had such a blast playing with a couple of different techniques and getting to mix old and new chipboard together to come up with this piece. I'm actually a bit sad that I have to send it away. :)
 
 
I covered the canvas in sewing pattern paper, then covered that in gesso. I applied texture paste through a stencil in a couple of random spots. Randomly sprayed 4 different mists over the canvass and selected chipboard pieces. Applied some builders tape randomly. Painted the honeycomb black and embossed the chains in silver. Stuck it all down, added some flowers and bling and there you go!
 
 
I've used quite a few different chipboard pieces here: CB5132 Chains 01, CB6113 Scrap Words 32, CB5137 Ornate Toppers 01, CB5124 Hexagon Mesh 03, CB1017 Keys 01, CB1230 Hinges, Keys & Keyholes 03, CB1124 Hinges 01, CB1078 Gears 05. I also used ST5007 Stencil Stones on the background.
 
Just in case you're wondering what my original canvas looked like, I hunted down a photo. I think the new one does a much better job of showcasing the amazing chipboard designs Scrapmatts sells. Let me know which one you like best. 


Tuesday, 16 February 2016

No Place Like Home Canvas - Scrapmatts DT

I can't begin to tell you how excited I was to find out Scrapmatts was expanding into stencils! Stencils are probably my second favourite scrapbooking item, after chipboard of course. :) They can be used in so many different ways and create so many different effects.
 
 
First up for my DT reveal this month, I created this canvas display piece. I had been saving this idea for a while now and the brick stencil was the last item I needed to make it happen. I applied texture paste through the stencil over the whole canvas, the different way the paste absorbs the mist makes for some great definition of the shapes. I then built up the scene with various chipboard pieces painted with acrylics. 

 
Chipboard used: CB5137 Ornate Toppers 01, CB2026 Picket Fences 09, CB4058 Australian Federation Detail 03, CB5120 Windows 04, CB1146 Leaf Spray 01, CB2020 Vines 01, CB6071 Assorted Words 07.
Stencil: ST5013.

Don't forget that Scrapmatts is having a Design Team Call at the moment. Entries close on the 19th so you'll need to get a wriggle on but we would love to see you join the team!

Thursday, 16 April 2015

Blue Dreamcatcher - Scrapmatts DT

I had so much fun making my last dreamcatcher that I had been thinking of making another one for a couple of months now. I finally sat down to do it this month and found that my fellow Scrapmatts DT member Crece had also created a dreamcatcher for her project this month! They must just be the in thing at the moment. Still, you can never have too much of a good thing so I continued with mine and came up with something completely different to hers.

 
As soon as I saw these feathers (CB5116 Feathers 01 and CB1222 Feathers 02) I knew they would be perfect for a dreamcatcher. I put some clear embossing ink on the edges and then dusted it off up the length of the feather to get that gradient effect. The little feathers have the same treatment, but were embossed with blue powder before the gold was applied over the top. The 'dream' chipboard word (from CB1200 Scrapwords 08) is just straight embossed with gold, I love the way the etched in word stays clear when you do this. The flourish is a left over piece I had from doing a Scrapmatts class at an expo (but you can get it from CB4066 Ornate Frames 23). I painted it white with acrylic paint then put some crackle medium over the top for texture and shine. The chipboard is flexible enough to bend to match the shape of the hoop while still being strong enough to not rip or break.
 
 
If you create a dreamcatcher with Scrapmatts chipboard we would love to see it over in our gallery!

Wednesday, 21 January 2015

Vintage Rose Garden Dreamcatcher - Couture Creations DT

So it's January - a new year, a time for new resolutions and best of all a great time to try a new project! This dream catcher is a surprisingly quick and easy project which looks great, in my opinion anyway. :)
 
 
1/ Take the inner circle of an embroidery hoop and pick a crochet doily which will fit inside. Using embroidery thread, loop through the doily and over the frame all the way around until it is securely attached in the centre.
2/ Adhere double sided tape over the outside of the hoop. This will secure the position of the thread and also secure the twine which now gets wrapped around the hoop, I found multiple shorter lengths are easier to wrap. Remember to include a loop at the top for hanging.
3/ Cut and emboss four feathers from neutral coloured Vintage Rose Garden papers. Punch a hole at the end of each of these. Run a brown inkpad around the edges and over the embossed areas to highlight these. Use more twine to hang each of the feathers from the hoop. I looped mine through itself to secure and hung a green bead at the other end of the twine.
4/ Tie an assortment of ribbons and laces to the bottom of the hoop, varied lengths and widths look best. Hang a couple of extra beads using embroidery thread
5/ Cut a small circle from spare cardstock to create a stable base to build your floral cluster upon and adhere to the hoop with hot-glue or double sided tape. Create a flower using the Roses nesting dies (I used two layers of the three smallest dies, inking the edges then wetting and scrunching each layer before assembly). Adhere the die-cut flower, a fussy-cut clock image and some smaller flowers to the base cardstock.
6/ Die cut the leaf frame and cut in half. Adhere the left side to the hoop using spray adhesive.

 
Couture Creations Materials List:
CO723218 Nesting Dies, Roses
 
 
http://lozcraft.blogspot.com